Connect my printer to this computer
How to Connect Your Printer to Your Computer – Simple Steps
If you’re wondering how to connect a printer to your computer, don’t worry. It’s a quick process that anyone can follow. Whether you’re working from home, in a small office, or helping someone set up their first printer, this guide makes it easy.
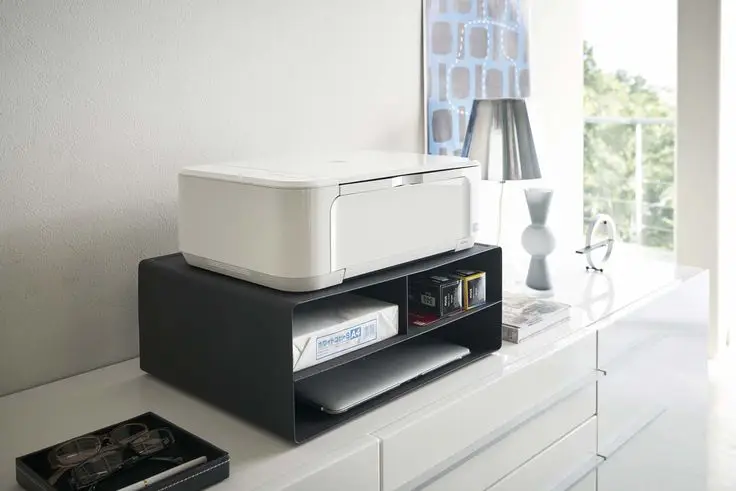
Step 1: Power On and Prepare
Make sure your printer is plugged in and turned on. Keep it close to your computer so it’s easy to connect.
Step 2: Decide How You Want to Connect
You can connect a printer in two ways:
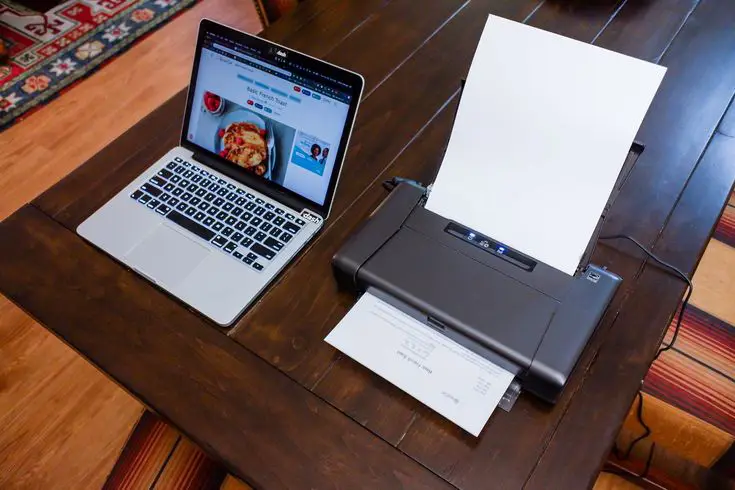
Wired Connection
- Use a USB cable to connect the printer directly to your computer
- Your device may automatically recognize it and make it ready to use
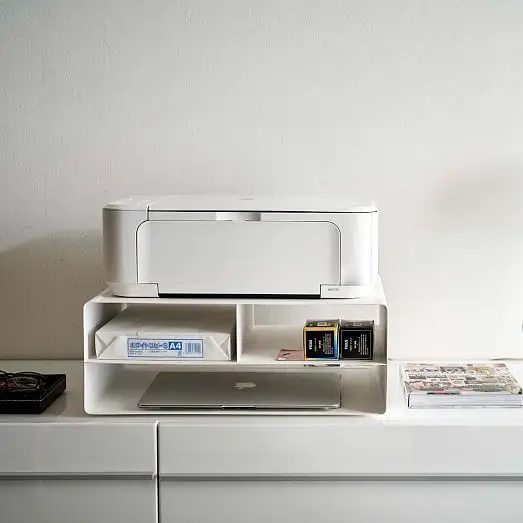
Wireless Connection
- Make sure both your printer and computer are connected to the same Wi-Fi
- Use your printer’s display or control panel to join your network
Step 3: Add the Printer on Your Computer
For Windows Users:
- Open Settings
- Go to Devices
- Click on Printers & scanners
- Select Add a printer, then choose your printer from the list
For Mac Users:
- Open System Settings
- Click on Printers & Scanners
- Press the plus (+) icon and choose your printer
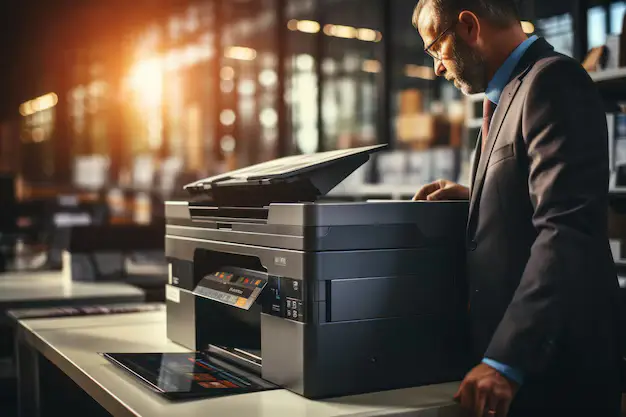
Step 4: Print Something to Check
Open any document and click “Print” to test if the connection is successful. If it prints correctly, you’re all set.
Quick Tips if Your Printer Isn’t Found
- Double-check the Wi-Fi or cable connection
- Restart both your printer and computer
- Make sure the printer is not in sleep or standby mode