Printer setup for this device
Printer Setup for This Device – Step-by-Step Instructions
Setting up a printer on your computer, laptop, or mobile device is easier than you think. Whether you’re printing at home or in a small office, this guide will help you get started without any confusion.
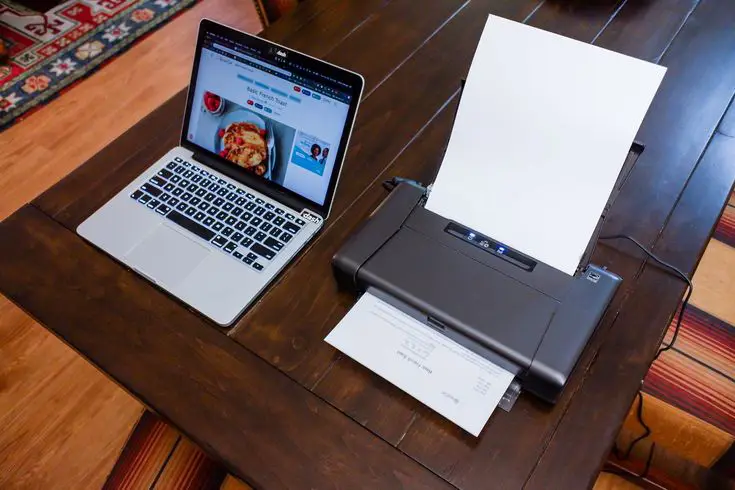
Step 1: Prepare Your Printer
Start by placing your printer near your device and turning it on. Make sure it’s connected to a power source and is ready to work.
Step 2: Choose a Connection Method
You can connect your printer in one of two ways:
Wired Connection:
Plug the cable directly into your device. Many systems will detect it and make it ready for use.
Wireless Connection:
Connect your printer to the same Wi-Fi network as your device. You can usually do this using the printer’s screen or control panel.
Step 3: Add the Printer to Your Device
Here’s how to add your printer depending on the type of device you’re using:
For Windows:
- Go to Settings
- Click Devices
- Select Printers & scanners
- Choose Add a printer and follow the steps
For Mac:
- Open System Settings
- Click Printers & Scanners
- Press the + button and select your printer
For Phones and Tablets:
- Open the document or photo you want to print
- Tap the Print option
- Select your printer (make sure both are on the same network)
Step 4: Print a Test Page
Try printing something simple to check if everything is working. If the page prints, your setup is complete!
Extra Tip
If your device doesn’t find the printer, make sure:
- Both are connected to the same network
- The printer is not in sleep mode
- All cables are properly plugged in (for wired)