Printer setup for windows 11
Printer Setup for Windows 11 – Step-by-Step
If you’ve recently upgraded your system or are using a new device, connecting a printer to Windows 11 is easier than you might think. This guide will help you complete the setup in just a few minutes.
Step 1: Turn On and Prepare the Printer
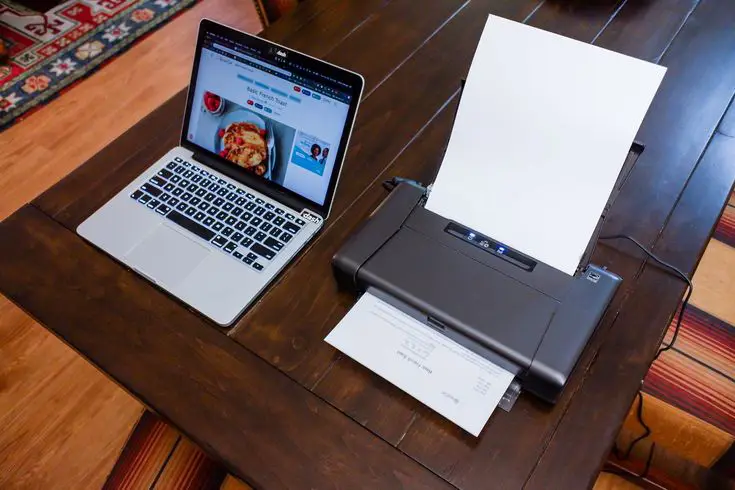
Make sure your printer is powered on and ready. Place it near your computer for easy access, whether you’re using a wired or wireless connection.
Step 2: Connect the Printer
For a Wired Connection:
- Plug the printer into your computer using a USB cable
- Windows 11 usually detects it automatically and begins the setup
For a Wireless Connection:
- Ensure the printer is connected to the same Wi-Fi network as your computer
- You can usually find wireless setup options in the printer’s control panel or screen
Step 3: Add the Printer in Windows 11
Follow these steps on your computer:
- Click the Start button and open Settings
- Go to Bluetooth & devices
- Click Printers & scanners
- Select Add device
- Choose your printer from the list and wait for it to connect
Once connected, your printer will be ready to use right away.
Step 4: Try Printing a Page
Open any file or document, click Print, and select your newly added printer. If the document prints successfully, your setup is complete.
Trouble Connecting?
Here are a few quick checks:
- Make sure your printer is not in sleep mode
- Ensure both devices are on the same network (for wireless)
- Restart the printer and your computer if needed

